E-mail: [email protected]
Phone: +86-572-8356001
E-mail: [email protected]
Phone: +86-572-8356001
Content
Pearl powder has quietly become one of the most popular additives in two very different workshops. On one bench, a resin 3D printer owner stirs a spoonful into a bottle of photopolymer to give a printed miniature a metallic finish straight off the build plate. On the other, a resin artist swirls the same powder into an epoxy casting to build ocean waves, geodes, and petri dishes that seem to glow from the inside.
Both uses depend on the same material, yet they ask very different things of it. A printer cares about cure depth, light scattering, and settling speed. An artist cares about how a single flake reads inside a 20 mm block. This guide covers both, with the ratios and habits that keep results predictable.
Pearl powder is a trade name rather than a description of the material. What you are holding is a pearlescent pigment: a thin platelet of natural mica, synthetic mica, or glass, coated with a precisely controlled layer of titanium dioxide, iron oxide, or both. Light entering that coating splits and recombines, and the thickness of the layer decides whether you see silver white, gold, or a color that shifts with the viewing angle.
Three properties decide how it behaves once it leaves the jar:
Resin does something paint cannot: it lets light travel through the medium and past many flakes at once. In a clear epoxy or an acrylate photopolymer you are not looking at a surface effect but at depth, and interference color builds as light passes through layer after layer of platelets.
The base color underneath matters just as much. Pour pearl over a dark or black base and the flakes read deep and rich. Pour the same pigment over white and it turns pastel and soft. It is the cheapest trick in resin art and one of the most effective.
Optical quality matters too. Powder that looks perfect in a thick opaque coating can turn hazy inside a 30 mm transparent casting, because a single oversized particle scatters light in every direction.
Adding pigment to a photopolymer is a controlled disturbance. You are changing how the resin absorbs and scatters ultraviolet light, and your exposure settings were calibrated on clear or lightly tinted material. Small additions work beautifully. Large ones fight the machine.
Start at 0.1 to 0.25 percent by weight for a subtle metallic finish, and treat 1 percent as a practical ceiling for most desktop printers. Beyond 2 percent you will usually see longer exposures, softened detail, and a stubborn film of partially cured resin clinging to the release film.
Those same optical principles are what make pearl pigments so expressive in resin. If you want to see how far the effect can be pushed, our breakdown of 3D optical effects in pearl pigments is a useful next read.
The most common mistake is pouring dry powder straight into the vat. Do this instead:
If you would rather skip the straining step, dispersion grades are formulated to wet out quickly in liquid systems and are noticeably easier to work into a bottle of resin.
 Dispersion Pearlescent Pigment Wholesale RangeFor liquid systems where quick wet-out and easier resin mixing are useful, this wholesale range lists Coloray shades with varied particle sizes.View Product →
In casting work the rules loosen up, because you are no longer fighting a printer's optics. You are building color in layers, and pearl powder rewards patience with depth that no surface coating can fake.
Typical loads run from 0.5 percent by weight for a whisper of shimmer to 5 percent for a solid metallic look. A rough working rule for small projects is one part powder to ten parts resin by volume, adjusted after the first pour. Always wet the powder in a little resin first. Dry powder dropped into epoxy forms lumps that survive even vigorous stirring.
Stir slowly and fold the mixture rather than whipping it, then let it stand for five minutes so bubbles can rise. A quick pass with a heat gun finishes the job.
Holographic and color-shifting powders add an extra dimension, producing rainbow diffraction or colors that change as a piece is turned in the hand.
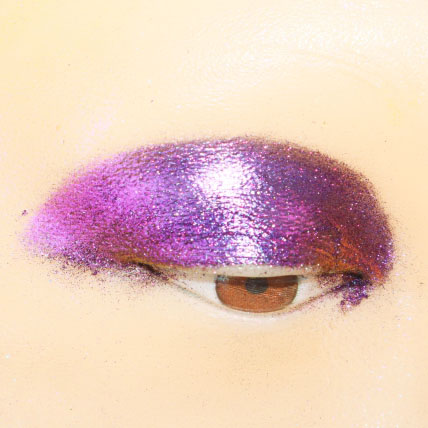 Super Solid Holographic Pigment Wholesale RangeSeven wholesale holographic pigment codes at 20–80 μm offer color-shifting effects for projects where grade selection shapes sheen or glitter.View Product →
Grade selection matters more than dosage. The same percentage of two different powders can produce a delicate sheen or a coarse glitter effect.
| Grade | Particle size | Best used for | Behavior in resin |
|---|---|---|---|
| Fine cosmetic grade | 5 to 15 microns | Thin casts, jewelry, printed miniatures | Smooth sheen, slow settling, easy to disperse |
| Standard pearlescent | 10 to 25 microns | General epoxy art and coatings | Balanced sparkle, moderate settling |
| Coarse industrial | 20 to 60 microns | Deep castings and glitter style effects | Strong sparkle, fast settling, harder to strain |
| Interference pigment | 10 to 25 microns | Color shifting and angle dependent effects | Needs a clear medium and dark base to shine |
For sections under two millimeters, stay with the fine end of the range. For chunky paperweights and coasters, a coarser grade reads better because the flakes have room to sit at different angles. Interference and crystal grades are especially rewarding in clear resin, where nothing masks their color shift.
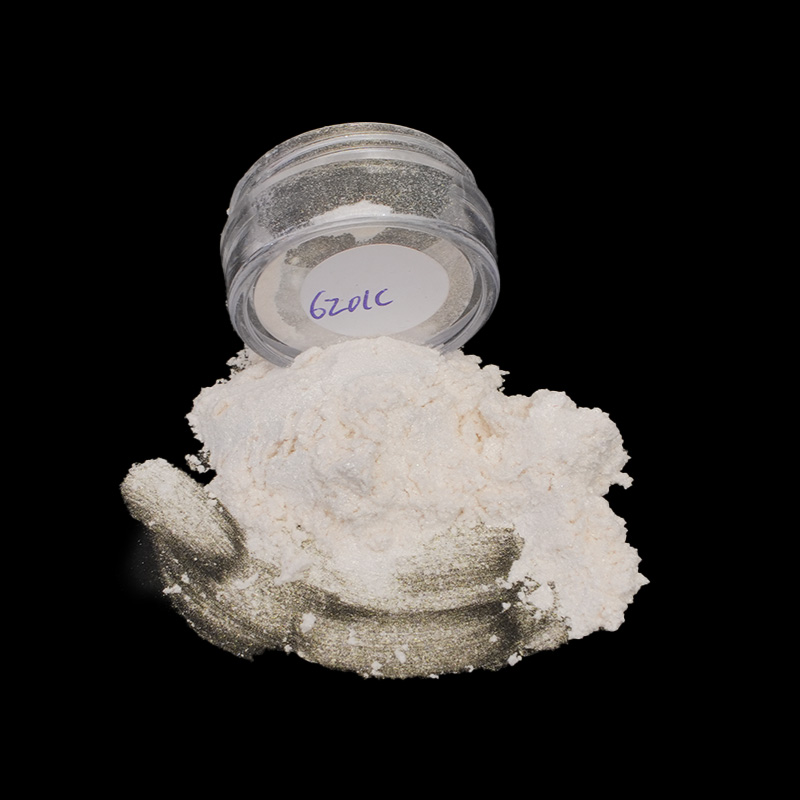 Crystal Interference Pearlescent Pigment SeriesCosmetic-grade interference series spans gold, red, violet, blue, and green lustres in multiple particle sizes, suited to clear-resin or small-section color effects.View Product →
These figures assume pigment weight against total resin weight. When you work by volume, one part powder to roughly ten parts resin lands close to the two percent mark.
Particle size distribution, substrate choice, and surface treatment decide how a pigment performs, and those three variables also vary most between suppliers. Ask for the D50 figure and the coating type, request a small sample before committing to a full batch, and run the same test coupon every time a new lot arrives. Batch to batch consistency matters far more than any single impressive number on a data sheet.
If you are unsure which grade fits your project, our frequently asked questions page covers sample requests, documentation, and the formulation questions we hear most often.

Contact Us
Mobile

 English
 Español